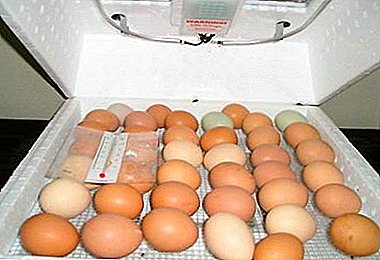
Incubator is a unique device with which you can display various types of poultry.
Most often involve an incubator for breeding chickens from eggs.
This process is not as complicated as it seems at first glance, although it requires increased attention and responsibility.
Types of devices
 The following equipment options are available for incubating chicken eggs:
- Automatic. In such devices, egg reversal occurs automatically up to 12 times per day.
- Manual. In such devices, the material for incubation must be inverted manually. Perform such actions at intervals of 4 hours. Every time you have to open the incubator, which adversely affects the incubation of chickens and lowers the hatchability rate.
- Mechanical. Here the eggs are turned manually in one motion using a special lever. It will take only 2 seconds.
Do-It-Yourself Incubator: Manufacturing Rules
The incubator can be made personally using the simplest plywood. The output should be a box with dimensions of 49x48x38 cm. You can safely place 90 eggs in it. The walls should be 3 cm thick. They should be assembled in 2 layers, and the space formed between them should be filled with felt. Instead of plywood, you can use boards of appropriate thickness.
Before gluing the plywood incubator it is worth preparing a finishing material. Inside the device to wipe the asbestos sheet, and on top - white tin. It is necessary to carry out similar warming up to levels on which the tray with eggs will be laid. In the walls of the incubator to run around the perimeter of the 16 holes.
Their diameter is 2 cm. From the 1st bottom bottom, retreat 26 cm and complete the first hole. Do the same for the remaining holes in the bottom. Between the walls should be maintained a distance of 8-10 cm.
Next to the bottom bottom of plywood tightly secure to the side walls 2 slats to a height of 11.6 cm from the bottom. They are required for installing trays with eggs. The second bottom of the incubator is made of plywood, which is 6-8 cm thick. In the center of the bottom, make a hole with a diameter of 14 cm. This bottom should be laid on bars fixed along the entire bottom bottom perimeter. Position the second bottom from the first one at a distance of 3-3.5 cm.
Bookmark Requirements
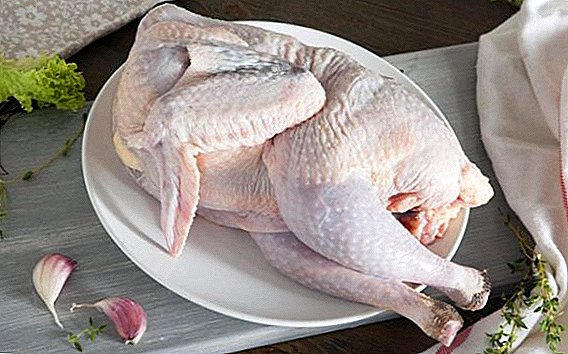
Before you start incubating chicken eggs, you need to make a certain selection of material.
The weight and quality of the shell
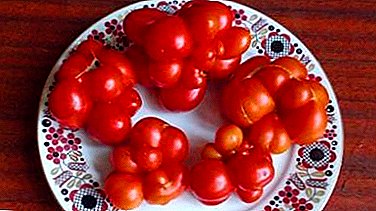
 Using scales, it is possible to precisely determine the weight of the material used. For beef young, this criterion does not play a special role. When laying eggs in the incubator, you must carefully examine the condition of the shell. If the shell is characterized by increased marbling, then the spots can be light or dark. This has a bad effect on the development of the embryo.
Disinfection
Remove various contaminants from the surface of the egg using a solution of potassium permanganate. If a large batch of eggs is provided for incubation, then formaldehyde is suitable for disinfection.
- Take 25-30 ml of the substance and the same amount of water.
- Then add 30 mg of potassium permanganate.
The resulting solution will be enough to handle 1 m3 of the incubator. Place the vessel with the solution in the disinfection chamber with eggs. There is a violent reaction, resulting in formaldehyde released. For the camera is great box that will be tightly closed.
The processing time is 30 minutes.. There is still a wet disinfection. It is done with the help of 25-30% bleach. For 1 liter of water, take 15-20 g of the substance. Eggs for 2 hours before laying lay in the solution for 3 minutes.
Storage
Eggs intended for incubation should be stored vertically so that the blunt end looks up. For storage pick up a clean room where the temperature is maintained at 18 degrees. If you have to keep eggs in the room for a long time, then the temperature will drop. Humidity should not be below 80%. You can store eggs for no longer than 6 days.
Better indicators during incubation are observed in those eggs that have been stored for no longer than 2 days.
More information about the storage of eggs can be found in this material.
Bookmark
Incubation of chicken eggs originates from their bookmarks:
- Laying material can occur at any time of the day, although some farmers do it in the evening.
- Since the material for incubation was kept in a cool room, then leave it in a warm place for 2 hours before sending it to the incubator.
- If you use large eggs, then chickens will hatch later. So put them first. After 6 hours, you can put the average eggs, and then after 6 hours - the smallest. Thus, chickens will be biting at the same time.
Temperature and modes
 This process is not so complicated, but at the same time it is important to follow some rules to get a guaranteed result. For better control of the process is to make a table. On it to designate the main stages of incubation of eggs.
It will look like this:
- 1-7 day. The laying of eggs in trays and the installation of the required temperature regime is underway. At the initial stage of incubation, the temperature regime should be 38 degrees, and humidity - 60%. During this period, the active formation of the embryo.
- 7-11 days. Temperature indicators to reduce by 1 degree, and the humidity will be 50%.
- From 11th day to the first cycle. Temperature indicators remain unchanged, and the humidity is reduced to 45%.
- Until prokleva. Humidity increase to 70%, temperature - 39 degrees.
Chicks should appear somewhere on the 21st day. When all the chicks hatch, they must stay in the incubator until they are completely dry.
Artificial hatching of chicks depends not only on temperature indicators. From about 4-5 days, the incubator should be regularly ventilated. It is important not to overheat the eggs.. For accurate temperature measurement it is worth taking measurements near the shell. When the temperature is higher than recommended, then the eggs cool.
More information about the incubation of chicken eggs can be found here, and more details about the technology of artificial breeding can be found in this material.
Ovoskopirovaniya
To monitor the development of the embryo, an ovoscope is used. This device allows the rejection of undeveloped embryos.
The first ovoscopic treatment should be performed on the 6th day after the eggs are laid in the incubator.
At the expense of the device it is possible to examine and detect such defects as growths, depressions, bumps on the eggs. Due to the presence of these defects, the starting material becomes unsuitable for incubation. If, for example, the egg is placed in a hatcher with a crack, then all moisture will leave it, which adversely affects the embryo.
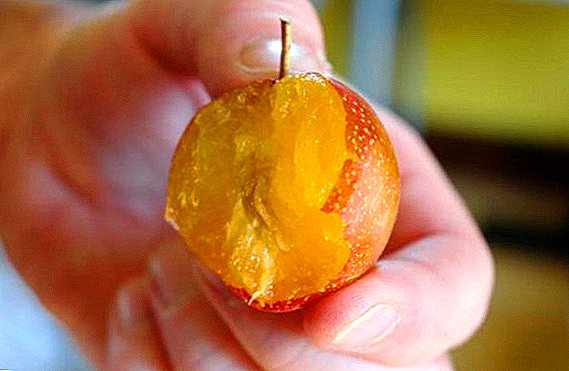
With the help of an otoscope, it is possible to determine the condition of the air chamber. Thus, it is easy to understand whether a fresh egg or not. To do this, enlighten them around the blunt end. There you can find a spot that is slightly darker than the rest. The smaller the size of the air chamber, the younger the material.
 Old eggs when laying quietly in the incubator will develop poorly. If during turning the yolk abruptly goes to one end, this indicates a torn halaz. Such a material needs rejection.
The following table will help determine the correct development of the embryo:
- Good Blood vessels are visible during the inspection. They should be evenly distributed. If the egg shakes a little, you can see the shadow of the embryo.
- Satisfactory. Blood capillaries are concentrated in the central part of the egg. This indicates slow development of the embryo.
- The bad. In appearance, the embryo resembles a small blot. It is concentrated close to the shell. Such material is removed from the incubator.
You can re-ovoskopirovaniya before poklevyvaniem. This is necessary to verify the embryo. If the eggs are without lumen, then chicks will soon be expected.
Incubation of chicken eggs is a great option not only for industrial, but also home breeding chickens. Not all breeds of hens are capable of hatching eggs, and thanks to the incubator there will be no problems with this. It is only important to strictly adhere to the recommendations given and approach this process with full responsibility.
- shelf life of raw eggs at room temperature;
- incubation period for chicken eggs.