With a home incubator you can get a good number of healthy poultry. But a significant factor affecting the number of broods and its survival is the correct laying of eggs in the “artificial hen”. It is equally important to select a good incubation material, as well as to study the individual nuances of the incubation of a particular species.
How to choose an egg to bookmark
Particular attention should be paid to the selection of high-quality incubation material. It is necessary to carry out follow-up control at each stage of the process, from the laying and until the moment when the chicks hatch. Those eggs that do not develop should be removed in order to avoid the development of pathogenic bacteria.
Important! The first 3 stages of incubation should be turned over the incubation material as often as possible (to maximize imitation of natural incubation). But if it is not possible to do it every hour, turn over as often as you can, the main thing - observe the same time intervals.
Video: how to choose an incubation egg Before laying it is necessary to select the material. Initially, eggs should be selected visually, guided by several simple rules:
- The incubation material should be of medium size. In eggs of an excessively large size, the percentage of death of the embryo is quite high. And from the little ones, chickens are born that will carry the same small eggs.
- Ensure that the incubation material is not dirty.
- There should be no defects on the surface of the eggs.
- The shape should be as close as possible to spherical (round). The sharp and too elongated shape of the egg makes it difficult for the chick to get out of it.
- For laying in the incubator, broiler eggs up to the age of 18-24 months are suitable. It is also desirable to be guided by the same principle regarding layers.
Learn how to choose the right incubator for your home, as well as familiarize yourself with the characteristics and operating features of the Cinderella, Blitz, Ideal Chicken, and Laying incubators.
For a more detailed analysis of the incubation material is very useful ovoskop - a device that determines the quality of eggs. It is very simple to use, even a non-specialist can use it.  Checking eggs in the ovoskop
Read more about how to properly ovoskopirovat eggs, as well as how to make an ovoskop with your own hands.
When using the device, pay attention to such moments:
- The yolk should be in the middle of the egg. When turning the eggs, the yolk should take the same position in the center. In case of breakage of one of the flagella, if you change the slope or rotation, the yolk will remain near the shell. Such an egg cannot be laid in an incubator.
- The size of the air chamber should not exceed 2.5 cm. It should be clearly in the middle under the blunt end. Subject literature advises not to use eggs with an offset chamber for incubation. But among experts there is such an opinion: hen eggs hatch from eggs whose chamber is slightly displaced. So if you grow a bird not for meat, you can try to confirm or deny this theory.
- Eggs with mixed protein and yolk, as well as with a torn yolk, cannot be laid in the incubator.
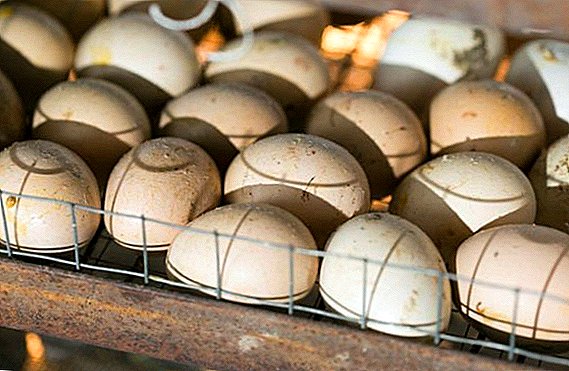
When is it better to mortgage
The best time to bookmark is approximately from 17 to 22 hours. In this case, all chicks hatch on the 22nd day.
Did you know? Squeaking chicks can say a lot about their health. A calm, thin and uniform squeak indicates the good condition of the chicks. A loud and disturbing squeak says that the chickens are frozen.
Incubation stages
The entire incubation period consists of 4 time periods. Stage I (1-7th day). The temperature is maintained in the range of 37.8-38.0 ° C. Air humidity is 55-60%. Temperature and humidity indicators at this stage remain unchanged. An embryo is formed, so it is important to create favorable conditions, exclude possible stresses. 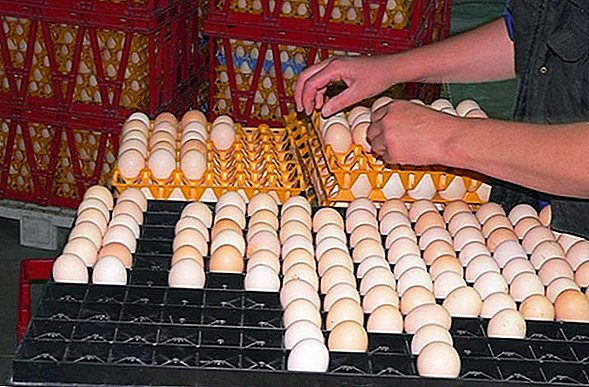 It is necessary to change the position of the eggs 5-8 times a day, for uniform heating and to avoid sticking of the embryo to the wall. When examining eggs on the 7th day with the help of an ovoscope, blood vessels and fetal plasma should be clearly visible. The embryo itself is not yet visible. At this stage, unfertilized eggs are harvested.
Stage II (8-14th day). The next four days, the humidity should be reduced to 50%. The temperature is the same (37.8-38.0 ° C). Turn the incubation material should be at least 5-8 times a day.
Familiarize yourself with chick breeding rules using an incubator.
At this stage, the humidity of the air is of crucial importance because the lack of moisture can lead to the death of the embryo. At this time, the allantois (the respiratory organ of the embryo) is under the pointed part and should already be closed.
Stage III (15-18 days). Starting from the 15th day of the incubation period, the incubator should be gradually aired. This measure will reduce the temperature, and the air flow will start the endocrine processes and enhance gas exchange. 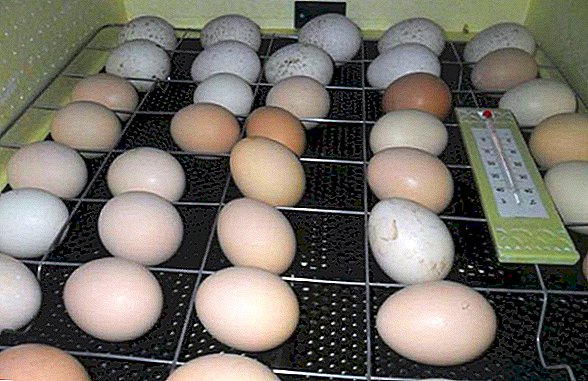 Humidity should be maintained within 45%. The temperature is 37.8-38.0 ° С, it decreases for a short time during ventilation (twice a day for 15 minutes), you need to turn the material 5-8 times a day.
When viewed with an ovoscope at this stage, one can see that the germ filled almost the entire volume, leaving only the air chamber. Bird squeaking through the shell can already be heard. Chicken pulls his neck toward the blunt end, trying to break the air chamber.
Important! With proper development at the stage of incubation, the volume of the air chamber should be about 1/3 of the whole egg and have an arcuate border.
Stage IV (19-21st day). On the 20th day of incubation, the temperature is reduced to 37.5-37.7 ° C. Humidity increase to 70%. In the last period of incubation, the eggs should not be touched at all, you only need to create a normal flow of air, but without draft. 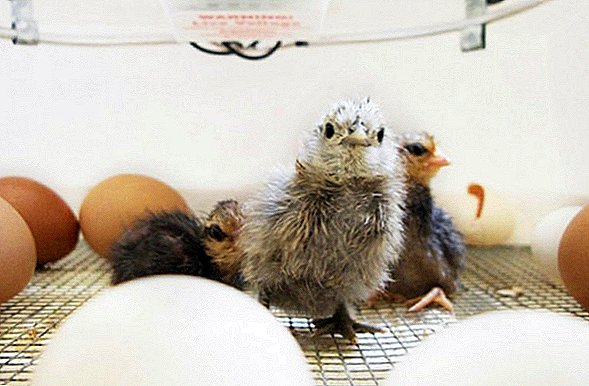 On the 21st day, the chicken turns counterclockwise and spits. A healthy, well-developed chicken will break the shell for 3-4 blows with its beak, leaving large pieces of the shell.
The nestling places the head at the blunt end, the neck - near the pointed one, rests against the shell with a small body from the inside and destroys it. Chicks should be allowed to dry and then put in a dry, warm place.
It will be useful for you to read about how to choose a thermostat for an incubator, and whether you can make it yourself.
How to lay an egg in the incubator
It is advisable to lay the incubation material in a single batch. If you lay eggs in small batches, then later there will be certain difficulties in caring for chickens of different ages.
Video: lay eggs in the incubator And it will be possible to carry out the cleaning only after all the chicks hatch. And this is not very good, because after the next batch of chicks hatches, there is sure to be a waste that should be removed from the device.
Bookmark and care feature
Carefully read the instructions for your incubator. Different models may differ modes. Lay on incubation need eggs that were demolished no more than 18-120 hours ago. At the same time, the incubation material should be stored at a temperature of 10-15 ° C and a humidity of 75-80%.
The main problems that can be encountered during incubation are temperature reduction and overheating. Temperatures may drop as a result of a power outage. Another reason could be a malfunction of the thermostat or sudden voltage drops characteristic of some dacha cooperatives. 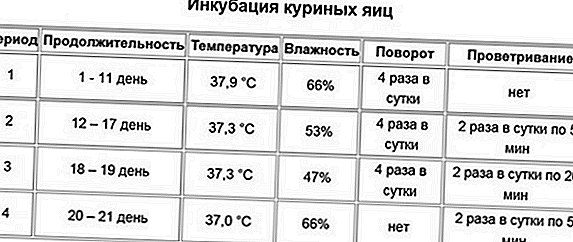 Overheating is also extremely dangerous for future chickens. If the incubator heats up, open it and turn off the thermostat for 0.5 hours.
Did you know? Eggs that were laid in the evening are undesirable for incubation. Because of the daily rhythms that affect the hormones of the hen, morning eggs are more viable.
Once the chicks have hatched, you should not immediately get them out of the incubator. Let the babies dry out and look around in a new setting.
After about 0.5 hours, transplant the chicks into a box with sides 40-50 cm high. The bottom of the box should be lined with cardboard or thick natural fabric (wool, drape, bike). In the middle of the box, put a heating pad (39 ° C). As the heating pad cools down, the water needs to be changed. 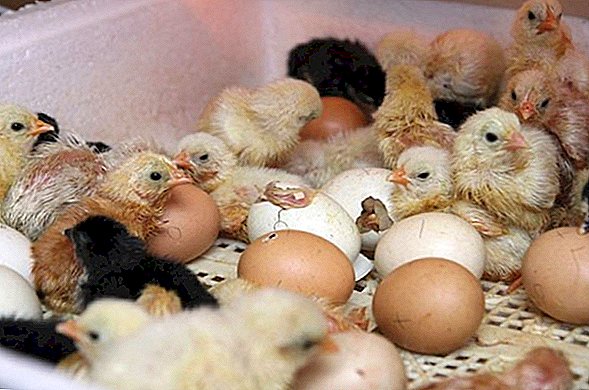 In the very first days, it is extremely important to maintain a temperature of 35 ° C, gradually reducing it to 29 ° C by the third day and to 25 ° C by the seventh day of life. In the poultry house for young need good lighting (100 W per 7 sq. M. House).
The first day the light does not turn off at all. Starting from the second day, the light is turned off from 21:00 to 7:00 in order to develop natural biorhythms in the chicks. At night, the box with chicks covered with a thick cloth, it will help to preserve heat. It should also take care of the warm field in the house.
We recommend reading about how to properly feed chickens in the first days of life, as well as how to treat and prevent chickens' diseases.
Millet, egg yolk and barley, ground with semolina, are used to feed newborn chicks. On the second day, cottage cheese, crushed wheat, and water are mixed in half with yogurt. To stimulate the gastrointestinal tract and as a source of calcium add crushed egg shells.
Video: feeding and drinking chicks in the first days of life
From the third day on the menu greens are introduced (dandelion). To normalize the functioning of the gastrointestinal tract, twice a week chickens are watered with a yarrow decoction. Can also be used to feed the feed for young.
You may be interested to read about how to raise ducklings, poults, goslings, quails and guinea fowl in an incubator.
Breeding poultry, and in particular chickens in an incubator, is an economical and fairly uncomplicated way to produce healthy young stock birds. This method is quite capable of people who want to try themselves in the poultry industry, but do not have relevant experience.
In order for a healthy bird to grow, it is necessary to control all stages of the incubation period and to take care of proper brood care.